
Vox Seas Golden Dunes Walkthrough
Escape the labor camp, help the resistance reclaim Golden Dunes, and follow Narmer beneath his throne.
Break three rocks and finish the prisoner conversations to begin the escape. Get Blue Hat Guard's cloth, arm the four workers, and open the canal wall marked with a blue eye. Follow Revolution Leader's quests through the supplies, warehouse, evidence, camp liberation and canal repairs. After the palace assault, move Narmer's throne, enter the pyramid, defeat him and talk to Defeated Narmer. Then show the complete map to Revolution Leader, dig up the marked chest, take its Fruit and return to Old Explorer on Harbor Island.
Arrival and Labor Camp
The Prison Ship storyline brings you into the Golden Dunes labor camp. Before this arrival, speak to Old Explorer on Harbor Island about the map and the island plan, then surrender to the Captain at the end of the wooden dock.
- Follow the yellow book markers and use the pickaxe to break three rocks.
- Speak to Unjust Prisoner and choose “What crime did you commit?”
- Speak to Veteran Prisoner and ask “When is the watch weakest?”
- Finish the conversation with Scared Prisoner.
- Follow “Return to the cells” back to the cages.
Returning to the cells completes Golden Dunes 1 and starts Escape from the Camp.
Escape from the Camp
- Talk to Blue Hat Guard and choose “Take the blue cloth”. Keep it for the resistance contact after your escape.
- Use E — Talk at the yellow book markers to speak to all four workers: Sabu, Hakim, Neferu and Amisi.
- Defeat Camp Supervisor. Then follow the marker to the crates and barrels beneath the shelter and take the supply records. Collecting the records is a separate objective after the fight.
- Find the four tools scattered around the camp courtyard. Follow their markers and use E — Collect at each one. Look around the old pickaxes, shovels and iron bars.
- Return to each worker, use E — Talk, and choose “Hand over the tool”. Finish each conversation, including “Stay together”.
- Defeat ten Narmer's Guards, then leave through the camp gate.
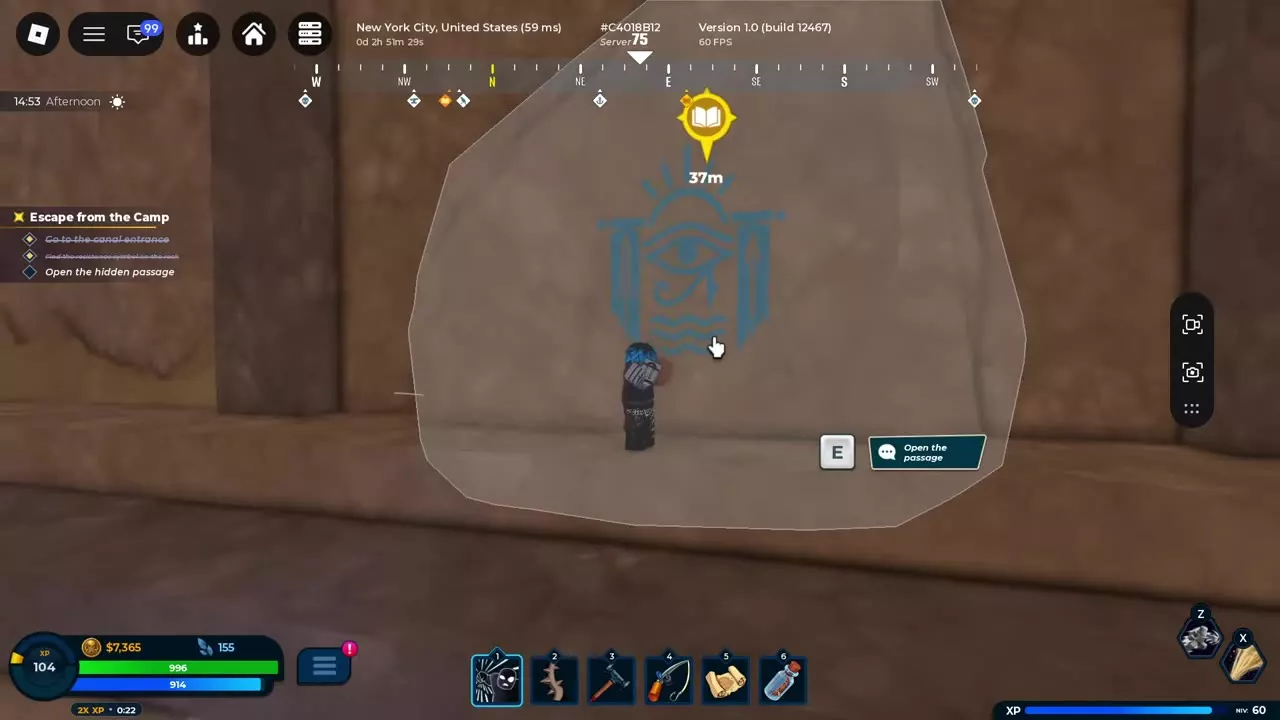
- Follow the canal-entrance marker into the tunnel. Find the blue eye painted on the wall, approach it, and press E — Open the passage.
- Enter the opening and talk to Resistance Scout. Choose “Show the blue cloth”, then follow the marker to Revolution Leader.
Finding Revolution Leader completes Golden Dunes 2 and begins The Confiscated Supplies.
The Confiscated Supplies
- Talk to Revolution Leader, leave the hideout, cross the canals and reach the city.
- Follow the marker to the Military Base arsenal and defeat nine Narmer's Guards in its courtyard.
- Complete “Pull the correct lever” to open the gate leading to the oasis.
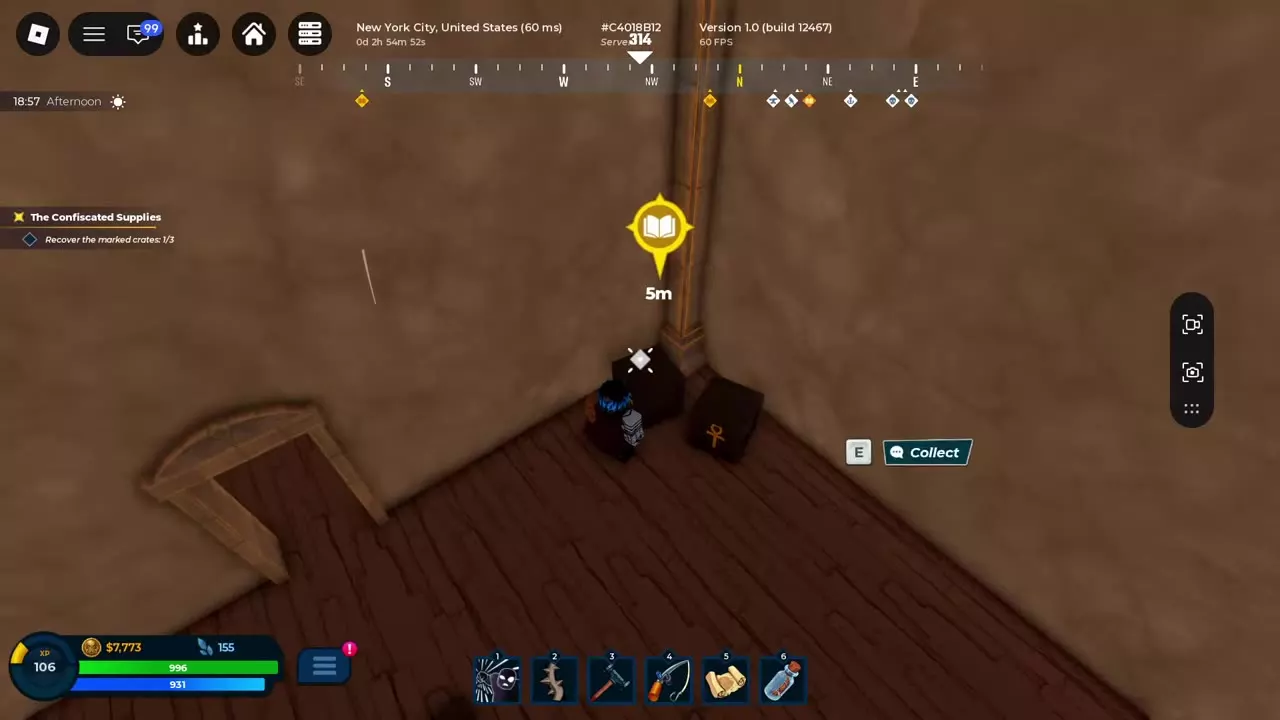
- Recover three marked crates. Follow the yellow markers to black crates with gold symbols and press E — Collect.
- Return the recovered supplies to the three residents:
| Recipient | Dialogue choice |
|---|---|
| Golden Dunes Resident 1 | Return the food |
| Golden Dunes Resident 2 | Return the medicine |
| Golden Dunes Resident 3 | Return the water |
- Enter the canals, find the Black Market entrance, and deliver the supplies to the resistance members.
- Speak to Resistance Scout in the Black Market and continue with “Better that way.”
- Return to Revolution Leader and choose “What's the next step?” to begin The Shipment.
The Shipment
- Talk to Revolution Leader, then find Hassan beside the anvil outside his city workshop.
- Follow the marker to the warehouse near the old prison. Complete the objectives to defeat Shipment Captain and the warehouse guards, get the warehouse key, and collect the Distribution List.
- Defeat the soldiers inside the warehouse after the captain stage.
- Enter the storage rooms and use E — Mark on five weapon crates.
- Follow the marker to the room corner and recover Hassan's toolbox.
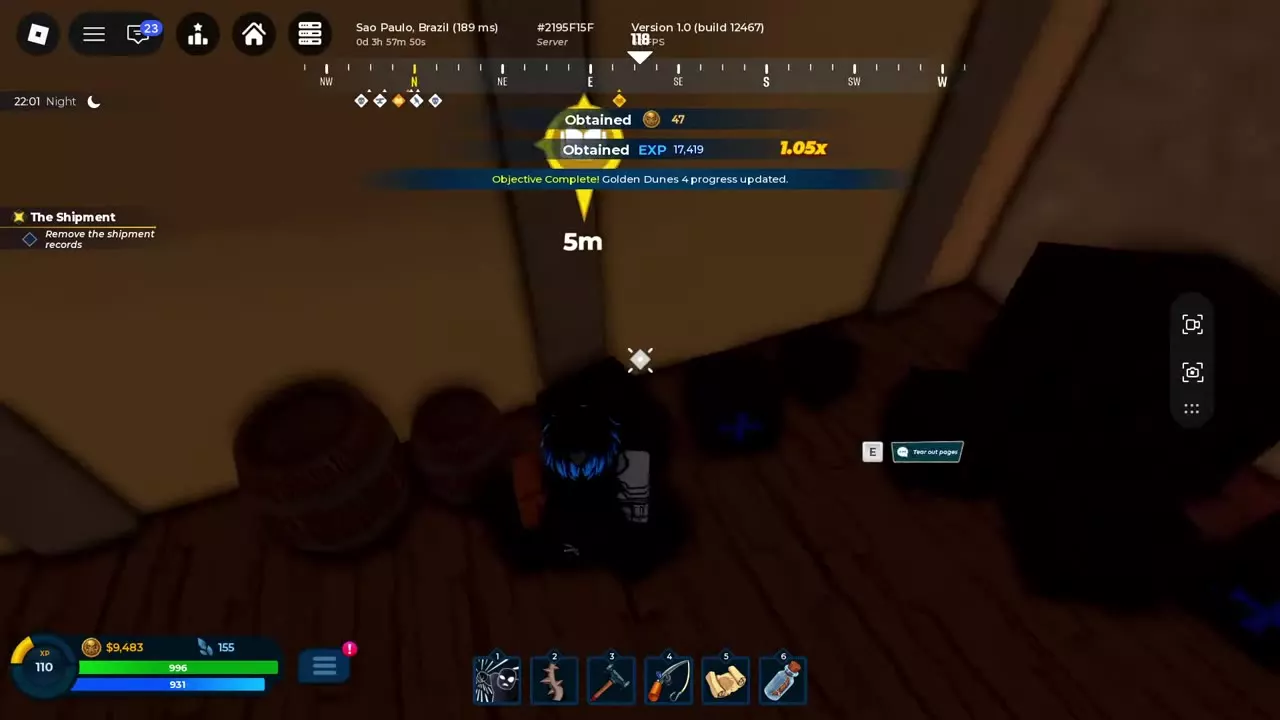
- At the next marked container, use E — Tear out pages to complete “Remove the shipment records”.
- Return to the Black Market in the canals. Talk to Resistance Scout behind the counter and report the crates marked with a sword and a circle. Complete “Deliver the Distribution List” before leaving.
- Return to Hassan, use E — Talk, and choose “Return the toolbox”.
- Speak to Revolution Leader to finish The Shipment and start The Evidence.
Use attacks that hit Shipment Captain and nearby guards together. Step away from pursuing melee attacks, then close in again to keep dealing damage. His health recovered during extended retreats, so avoid spending long stretches disengaged. Track the captain and guard objectives separately; clearing the boss does not replace the remaining warehouse tasks.
The Evidence
- Talk to Rashid and choose “Show the records and the Distribution List”.
- Talk to Karim and choose “Show the supply records”. Show the records to Samira as well to finish all three resident objectives.
- Follow the yellow book marker to Resistance Scribe. Use E — Talk to obtain three copies of the records.
- Post one copy on each board: market, clinic and town square. Each board has its own posting objective and yellow book marker.
- Defeat six Narmer's Guards.
- Speak to Rashid again and finish the conversation about the guards tearing down the posters.
- Return to Revolution Leader to unlock The Liberation of the Camp.
The Liberation of the Camp
- Talk to Revolution Leader, return to the labor camp, and find Blue Hat Guard beside the camp buildings.
- Choose “I came to get everyone out of here.”, then “Will you fight alongside me?”
- Defeat four Narmer's Guards and reach the alarm tower. Follow the marker to the bell frame and disable the camp alarm.
- Defeat Chief Supervisor and five escort targets. Use attacks that hit grouped enemies and keep track of the boss and escort objectives separately. A nearby Shipment Captain has a separate health bar, and the target display can switch between the two bosses.
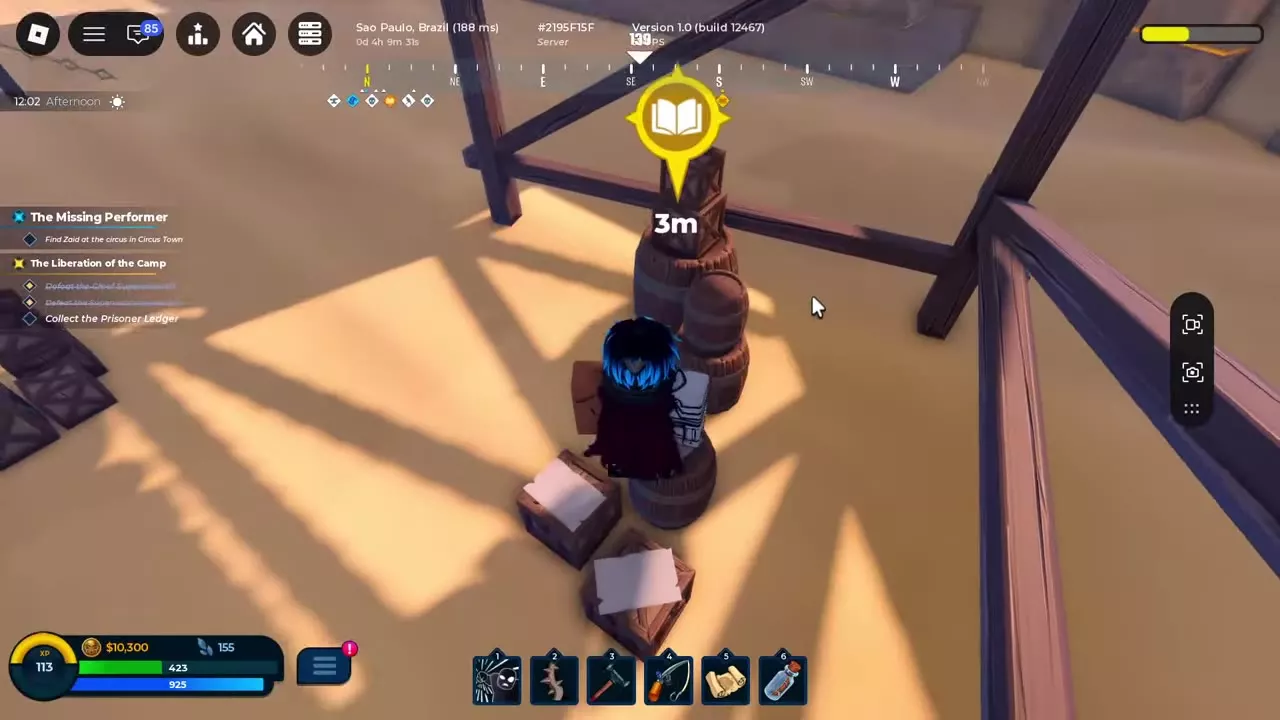
- Follow the yellow book marker to the crates and barrels beneath the wooden frame and collect the Prisoner Ledger.
- Defeat six Jailers.
- Find the stone pile beside the wall and press E — Break to expose the underground entrance.
- Fight the camp enemies until “Protect the escape” reaches 8/8. Narmer's Reinforcements and Narmer's Soldiers join this defense. Continue until the objective changes to “Talk to the Blue Hat Deserter”.
- Finish the conversation with Blue Hat Deserter.
- Return to Revolution Leader and choose “Hand over the Prisoner Ledger”.
The ledger handoff completes Golden Dunes 6 and starts The Distribution Station.
The Distribution Station
Enter the canyon station
- Talk to Revolution Leader about the station, then follow the tunnel marker to Blue Hat Deserter. His dialogue name is Former Guard.
- Continue with “Then tell me.” and “Who keeps the key?”, then travel to the station in the canyon.
- Defeat six station guards, open the station gate, and defeat three station reinforcements inside.
Restore the waterways
Complete the three patrol stages in order:
- Residential canal: inspect the residential waterway mechanism. Defeat the three-member patrol that took the gear, collect Bronze Gear, and fit it to open the residential canal.
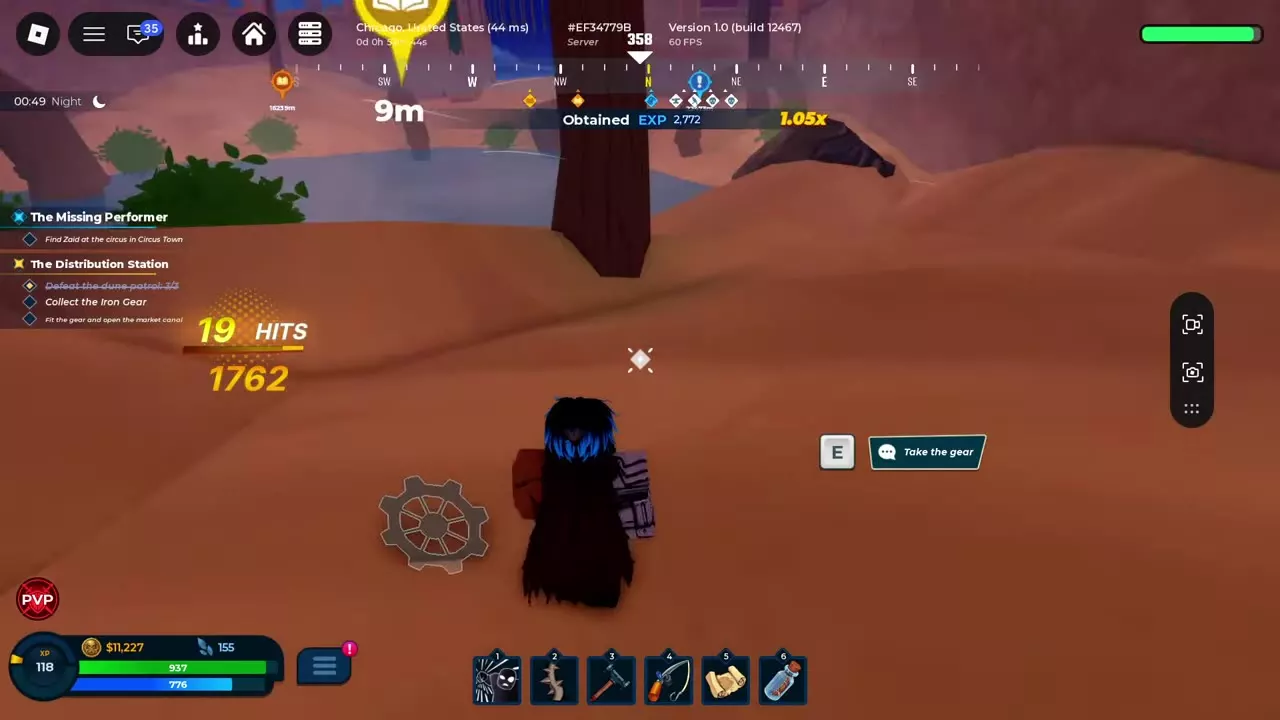
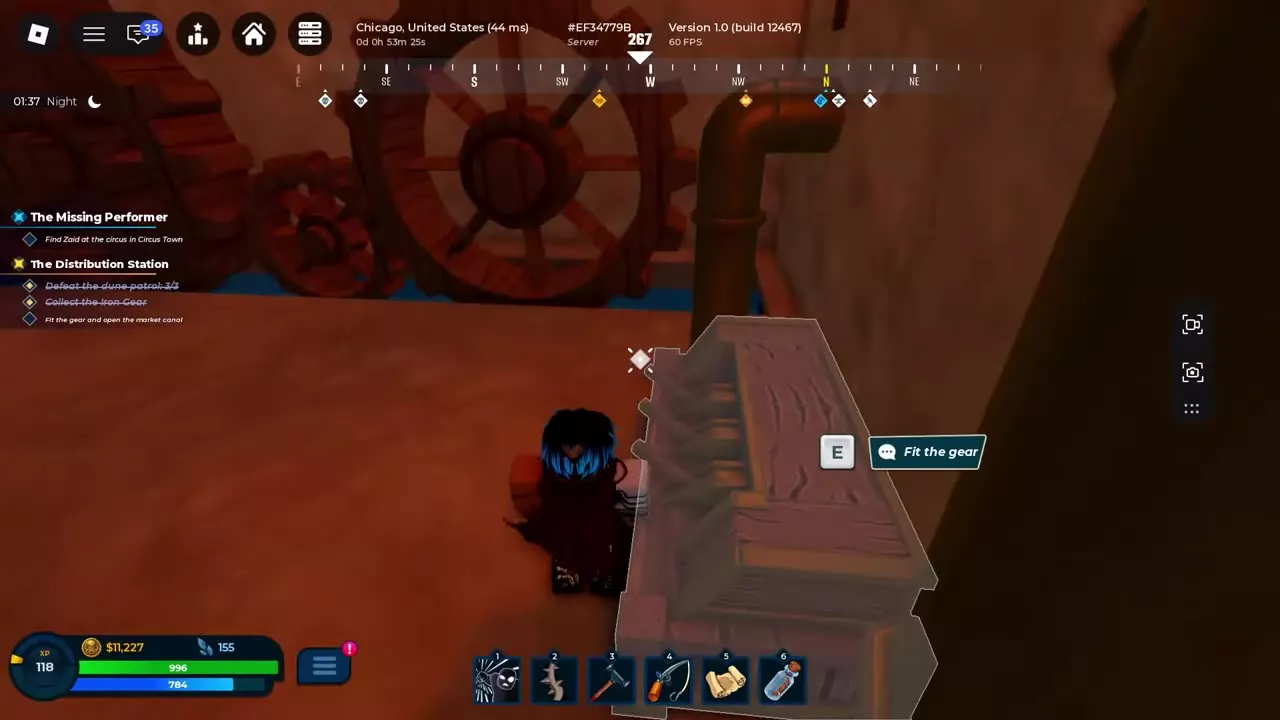
- Market canal: leave the facility and follow the marker to the walled courtyard with a pool. Defeat three dune-patrol enemies. Approach Iron Gear on the sand and press E — Take the gear. Return to the room with the large gears and waterway, then press E — Fit the gear at the marked device.
- Camp-road patrol: after fitting the market gear, defeat the next three-member patrol. At the battle site, use E — Collect to take what the patrol was carrying. Follow the subsequent objective to fit the gear and open the waterway.
Picking up Iron Gear and fitting it are separate interactions. Finish the fitting objective before moving on to the camp-road patrol.
Activate the Main Control
- Defeat Reservoir Commander and four commander guards, and obtain the Main Control Key. Follow the commander through the connected room and corridor while completing the separate guard objective.
- Activate the Main Control at the large wheel device.
- Return to the city and talk to Samira outside the clinic.
- Give the order to Revolution Leader and continue with “What's the plan?” to begin The Confiscated Documents.
The Confiscated Documents
- Find Rebel Signalman beside a city building and press E — Give the signal. His interaction changes to Talk after the signal is sent.
- Go to Narmer's palace and defeat ten outer guards.
- Enter the palace hall and defeat eight inner guards.
- Follow the document marker to the crates beside a hall column and collect the documents.
- Follow the yellow book markers around the palace tables and collect three pieces of evidence against Narmer.
- Defeat Guard Commander and the five remaining soldiers. Group the pursuing soldiers for attacks that hit several enemies, then continue damaging the commander.
- Leave the palace interior and talk to Rebel Palace Runner beside the exterior columns. Choose “I've got a full report.”
The report completes Golden Dunes 8 and starts The Last Refuge.
The Last Refuge
Move Narmer's throne
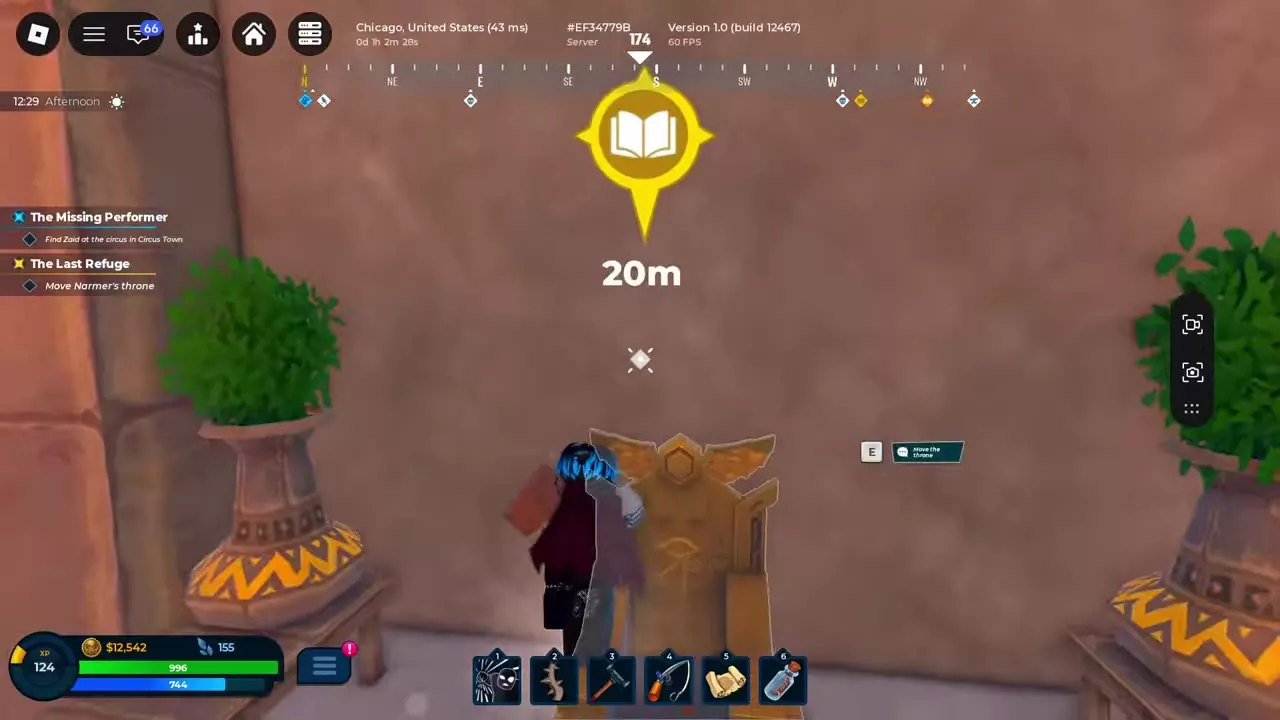
- Talk to Revolution Leader and finish the conversation about the empty throne. This gives you “Move Narmer's throne”.
- Return to the throne and use its E — Move the throne interaction.
- Climb down the exposed ladder and follow the passage beneath the throne.
- At the sealed entrance, press E — Enter the Pyramid.
- Defeat ten Royal Guards, then complete the next objective to defeat eight of Narmer's soldiers.
Defeat Pharaoh Narmer
Attack between Narmer's close-range sword attacks. Move out of red circular and long ground warnings, stay clear of sand whirls and other active sand effects, then approach again during openings. Handle nearby Royal Guards while continuing to damage Narmer. His health recovered during a retreat, so keep evasive movement focused on escaping attacks and returning to the fight.
If you die, return through the opening beneath the throne, climb down the ladder, and use E — Enter the Pyramid to reach the hall again.
Talk to Defeated Narmer
Victory unlocks Curse of the Pharaohs, but the quest still requires a conversation. Royal Guards remain active in the hall after the boss fight.
- Find Defeated Narmer at the yellow book marker and use E — Talk.
- Continue through the responses about rebuilding the island, nobody coming to save him, and taking the ex-Pharaoh away. Finish until the objective becomes “Return to the Revolution Leader”.
- Return to the pyramid entrance and press E — Leave the Pyramid.
- Talk to Revolution Leader and choose “The island is in good hands.”
This completes Golden Dunes 9 and opens The Route to Frost Island.
Nadir and Selim's Side Quests
The Missing Performer
Find Nadir (Worried Brother) behind a market stall and use E — Talk. Choose “What happened?”, then “I'll find him.” to accept. “Not now.” declines the offer.
The objective is “Find Zed at the circus in Circus Town”. Travel across the sea to Circus Town and look for the circus with the large tent.
The Lost Inscriptions
Find Selim (Curious Man) beside the stairs near the city gate. Look for his question-mark marker. Speak to him, choose “What kind of inscriptions?”, and continue the conversation to add The Lost Inscriptions as a Secondary Quest.
Its objective is to read three lost inscriptions, tracked from 0/3.
The Route to Frost Island
- Show the complete map to Revolution Leader. Choose “One thing. This map.”, then “I'll finish what he started.”
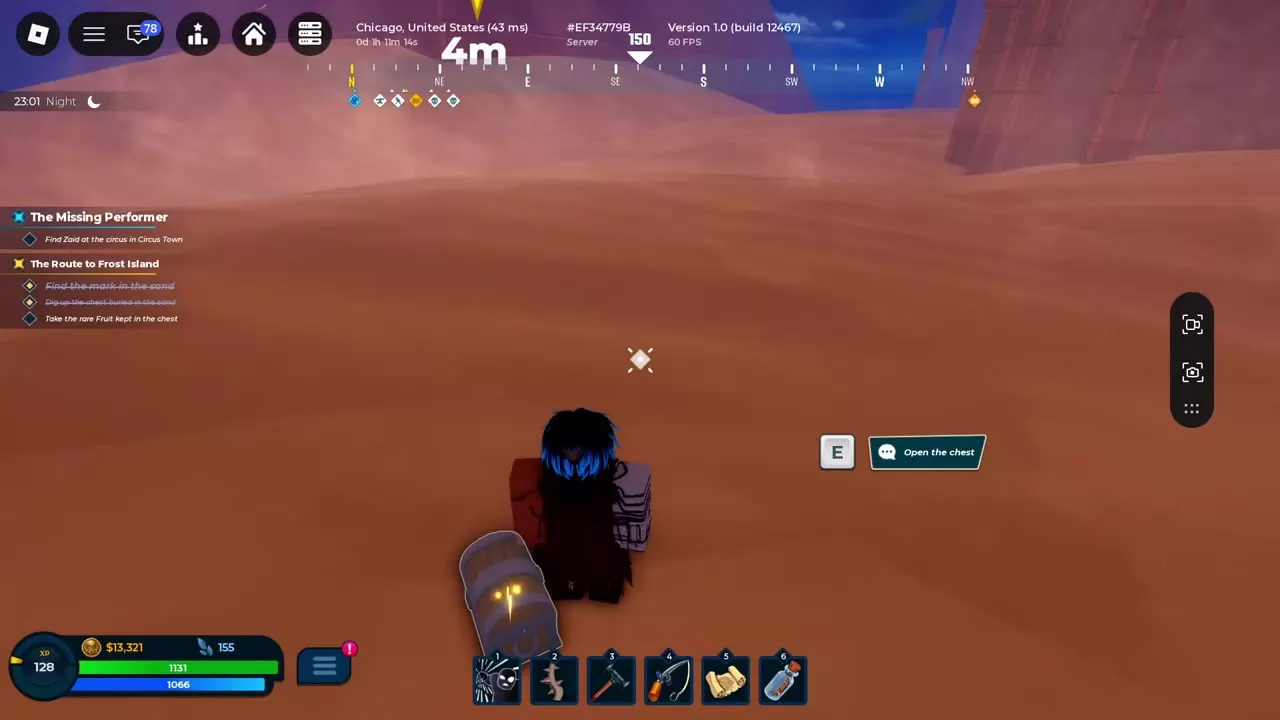
- Travel to the pyramid marked on the map and find the mark in the sand.
- Press E — Dig at the mark. When the buried chest is uncovered, use E — Open the chest and take the rare Fruit inside.
- Return to Revolution Leader and choose “I came to say goodbye.”, followed by “I'll keep it safe.”
- Follow “Return to Harbor Island” and “Talk to the Old Explorer”. Hand over the Legendary Treasure notes to complete the Golden Dunes story handoff.
Protection Fruit is one example of the chest reward. For other acquisition methods and the difference between buying and permanently equipping Fruits, see how to get Fruits.
Harbor and Frost Island
After returning the notes, your next Harbor story conversation leads toward Frost Island. Use the Harbor story guide for that handoff, then follow the Frost Island walkthrough through the lighthouse, Royal Seal and Yeti quests.