Vox Seas Frost Island Walkthrough
Follow the Frost Island story from the village investigation through the lighthouse, ruined kingdom and Yeti Cave. Bring 1,000 Coins for the Vitality Elixir payment, then complete the Royal Seal and kingdom battles before collecting the blood sample for Suspicious Man.
Talk to all three villagers, deliver 3 Snowblossoms, 5 Nettles, 5 Guardian bottles and 1,000 Coins to Elixir Vendor, and bring the finished Vitality Elixir to the lighthouse. Collect and reforge both Royal Seal halves, defeat Soul Flame, then defeat six Royal Guard Armor and Ice King. Pick up Yeti's Lair Key, report back, defeat Ice Golem and open the hall chest for the Yeti Bell. Defeat Yeti, interact with its body to collect blood, and finish the lighthouse and village farewells before returning to Harbor.
Investigate the Village
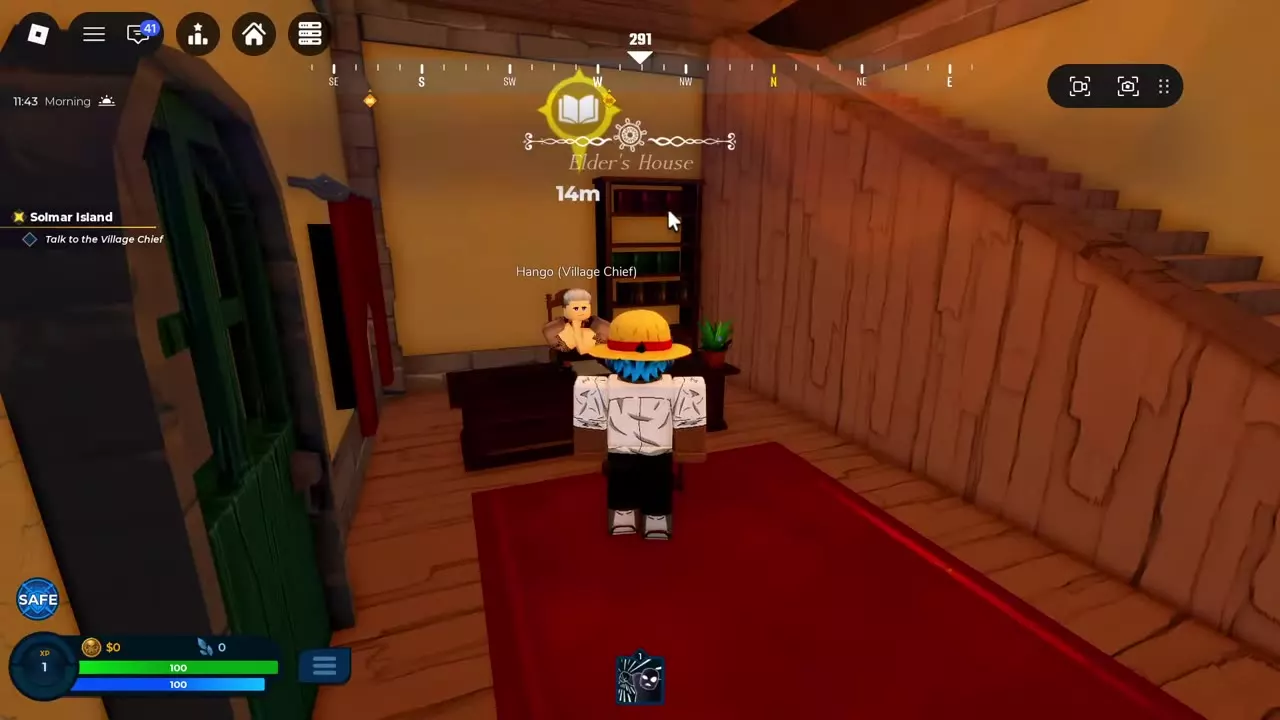
With Talk to the villagers active in The Suspicious Man's Deal, leave the wooden dock and follow the quest markers into the snowy village.
- Find Island Resident outside a house. Look for the fur hat and fishing rod. Press E / Talk, ask who knows the truth about the kingdom, and finish the conversation to reach 1/3.
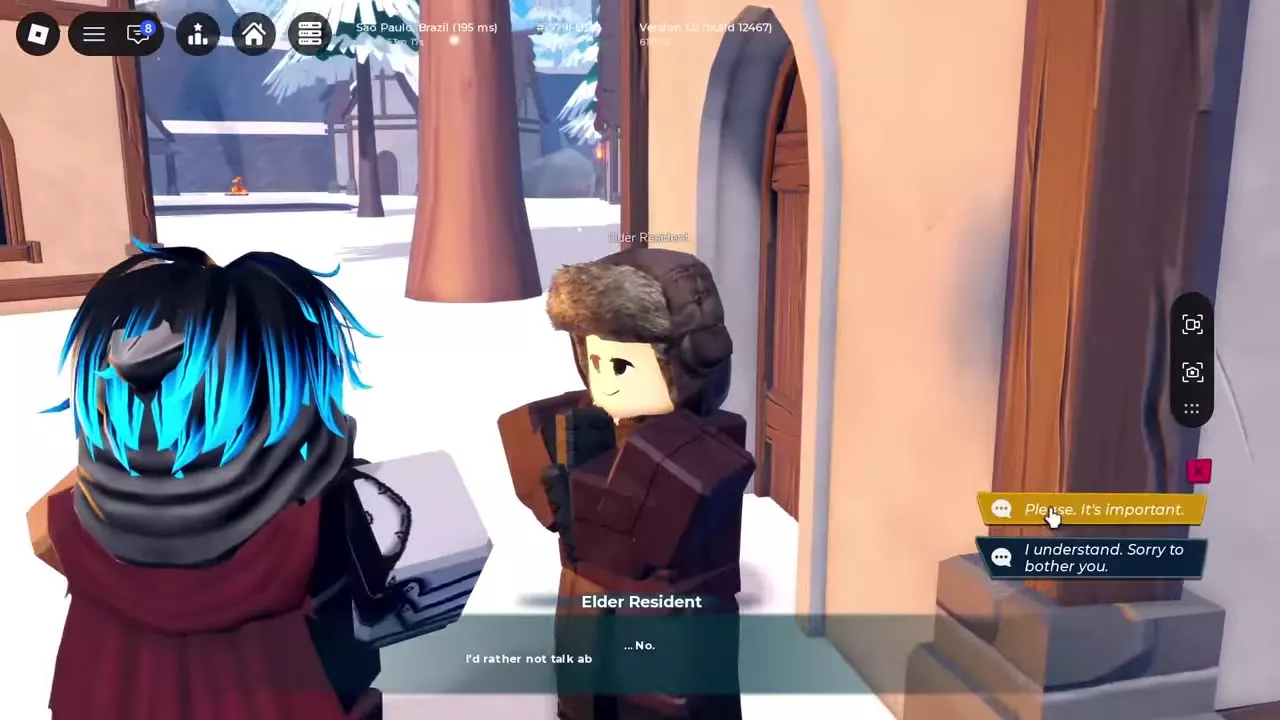
- Speak to Elder Resident beside a house doorway. Ask about the old kingdom's fall. When the resident refuses to talk, choose “Please. It's important.” Continue asking about the changes and the King to reach 2/3.
- Find Young Resident beside a tree and campfire. Ask about the ruined kingdom, the elders' stories and the Yeti, then finish the conversation.
The third conversation completes Frost Island 1 and leads you toward the lighthouse. Halvard also offers The Impossible Ice beside the dock building; see the side quest section below for its acceptance dialogue.
Brew the Vitality Elixir
Request the Elixir
Follow the snowy steps through the stone-pillar ruins to the lighthouse. Press E / Knock on the door and introduce yourself as a traveler. Voice Behind the Door asks for an Elixir and sends you to the village merchant.
Return to Elixir Vendor outside a village building. Ask for a good-quality Vitality Elixir, choose “How much would it cost?”, and accept The Price of a Few Minutes.
Gather the materials and pay
Collect the required Snowblossoms, Nettles and Guardian bottles shown below, and keep 1,000 Coins for delivery.
Follow the plant markers around the snowy village, including beside trees and rocks, and press E / Gather at harvestable plants. Complete Snowblossoms 3/3 and Nettles 5/5.
Fight Glacial Water Guardians until Take bottles from the Guardians reaches 5/5. The target counts bottles, not a fixed number of defeated Guardians. Gather pursuing Guardians into a group while moving between the snow and ice, hit them with area attacks, then retreat before repeating.
Wait for brewing and enter the lighthouse
- Return to Elixir Vendor and confirm that you brought all the materials and 1,000 Coins. Delivery starts brewing.
- Talk to the vendor to read the current remaining time, then return after that countdown. Brewing cannot be rushed. If the vendor reports a failed brew, brewing restarts; follow the new countdown.
- Talk to the vendor again when the Elixir is ready to collect it.
- Return to the lighthouse door and choose “It's the traveler from before. I brought what you asked for.”
- Press E / Enter the Lighthouse, then find and speak to Lighthouse Man inside.
Meeting Lighthouse Man completes Frost Island 2 and starts The Key Against the Curse.
3 objects
| Name | Required quantity | Acquisition |
|---|---|---|
|
3 items
|
Gathering
| |
| ||
|
5 items
|
Gathering
| |
| ||
|
5 bottles
|
Glacial Water Guardians
| |
| ||
Reforge the Royal Seal
Lighthouse Man gives you one half of the Royal Seal when you ask about the kingdom's fall. Recover the other half in the ruins, then reunite them at the Royal Forge.
- Follow Find the statue in the ruins up the snowy steps and through the stone pillars. Approach the marked statue area to advance the objective.
- Defeat 10 Cursed Armor. Gather the pursuing sword enemies while moving, use area attacks against the group, then pull away before repeating.
- Follow Take the half of the Royal Seal to the small marked object beside a snowy building wall and collect it.
- Return to Lighthouse Man and show him both halves. This advances the quest to reforging.
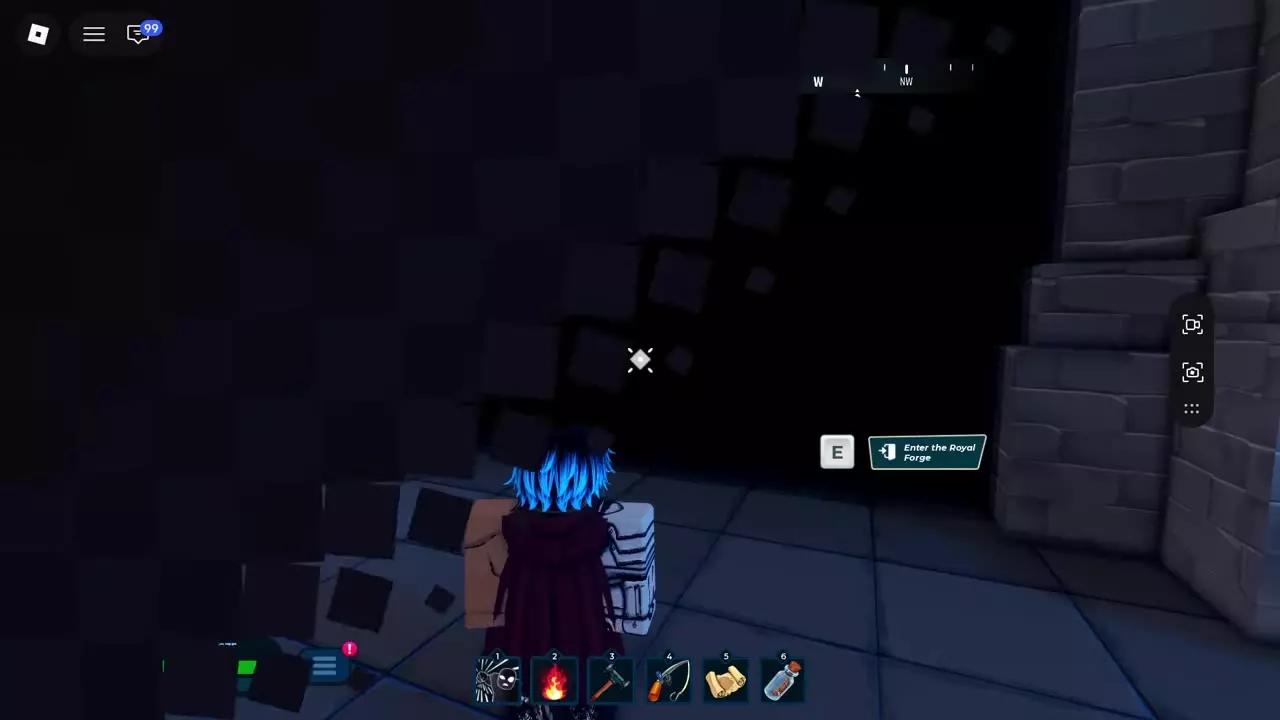
- Climb to the castle hall and approach the dark side entrance. Press E / Enter the Royal Forge.
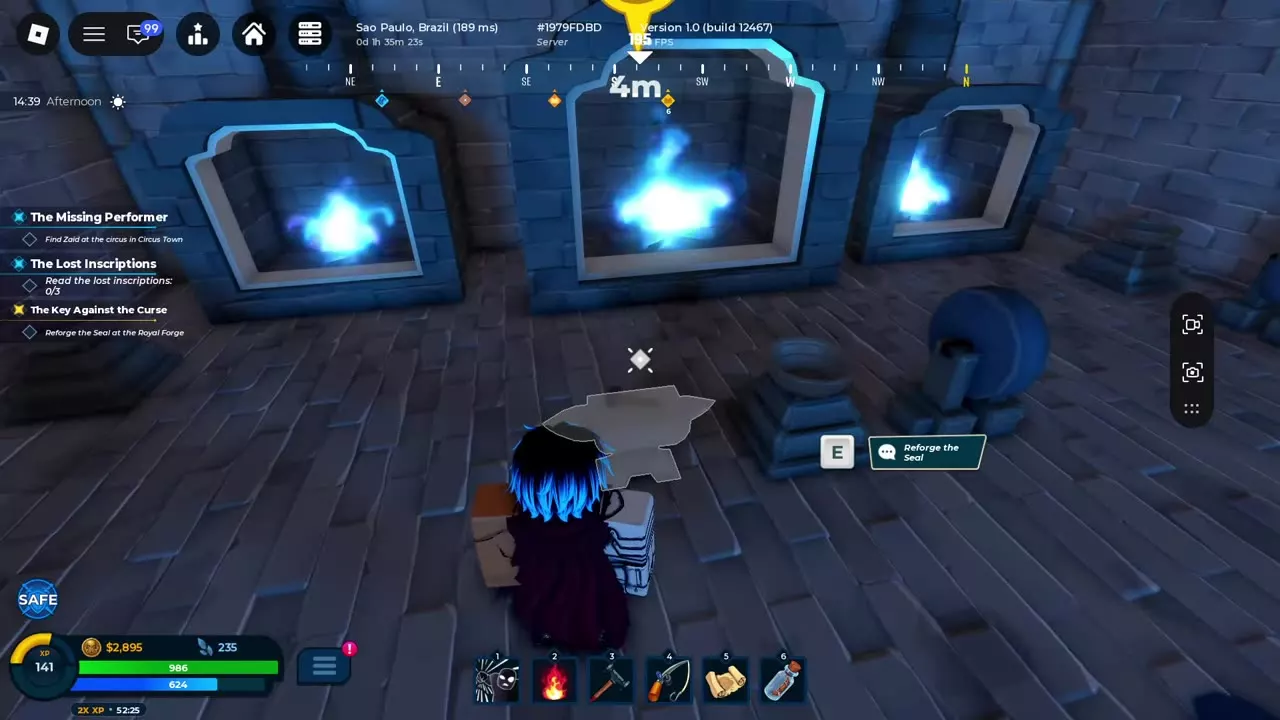
- Inside, approach the workbench in front of the blue-flame furnace and press E / Reforge the Seal.
- Return to Lighthouse Man, show him the reforged Seal and choose “I'll go to the core.”
Reforging advances the objective to showing the Seal at the lighthouse. Complete that conversation before heading to the core.
Defeat Soul Flame
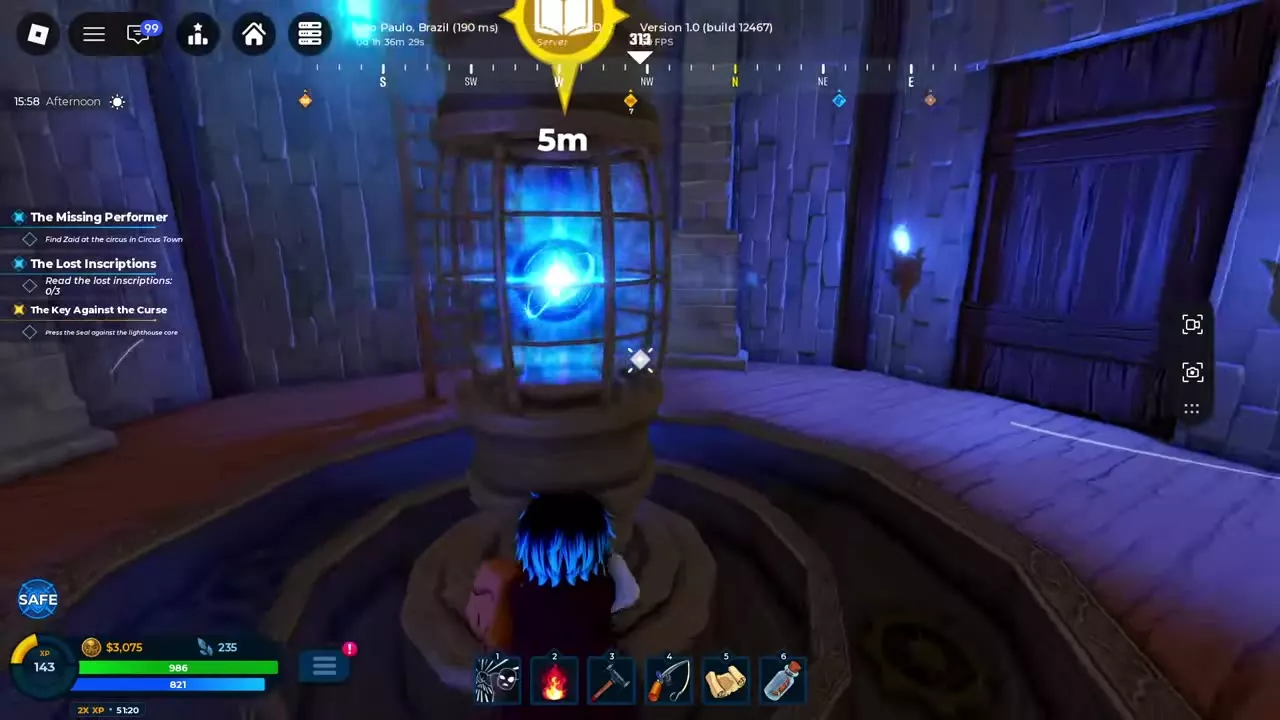
Approach the glowing central lighthouse core and press E / Press the Seal against the core. You enter Mind, where the objective becomes Defeat the Soul Flame.
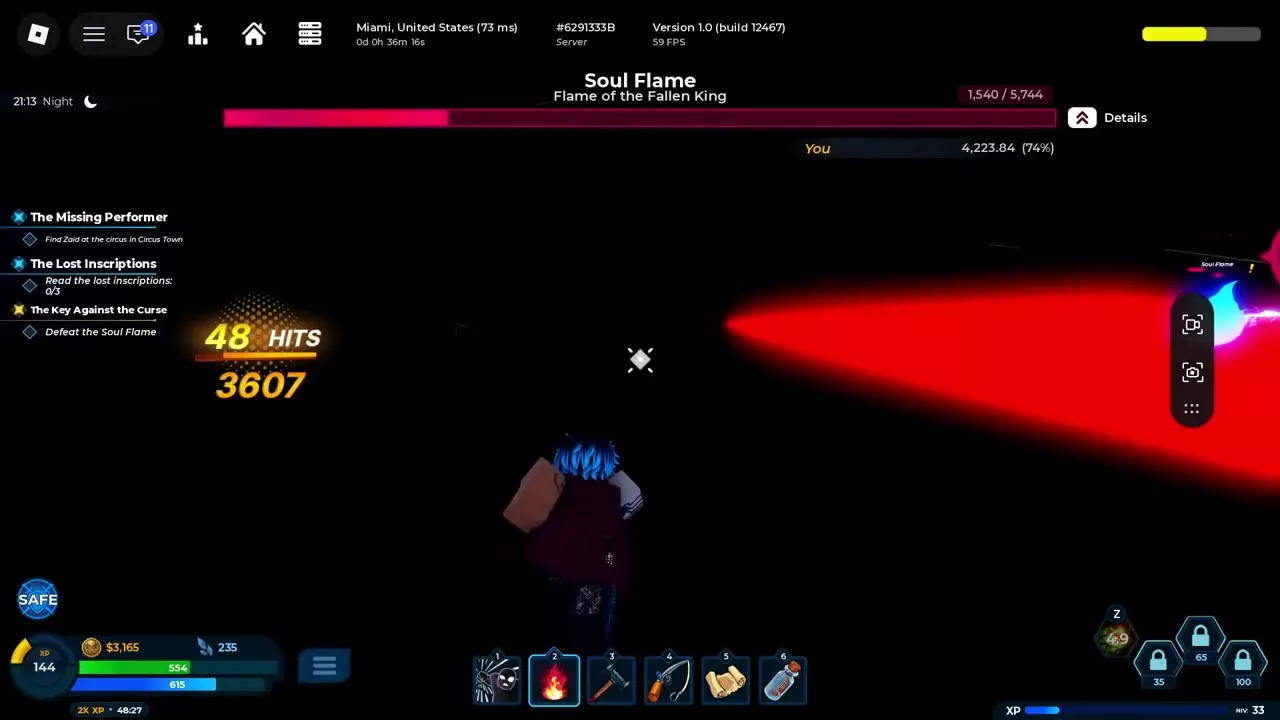
Attack between Soul Flame's area attacks. When red ground warnings appear, move beyond them and stay clear of the blue flame burst that follows. Wait for the flames to finish before closing in again: leaving the red warning and immediately returning into the active flames still exposes you to repeated damage.
After victory, the objective advances to Complete the Royal Seal. Finish that objective, return to Lighthouse Man and choose “The seal is ready.” This completes Frost Island 3 and leads into The Soul Trapped in the Armor.
Free the Ice King
Talk to Lighthouse Man after reporting the completed Royal Seal. The next objective is Defeat the King's guard: 0/6.
- Follow the snowy steps and mountain path to the castle. Use Enter the Throne Room at the hall door.
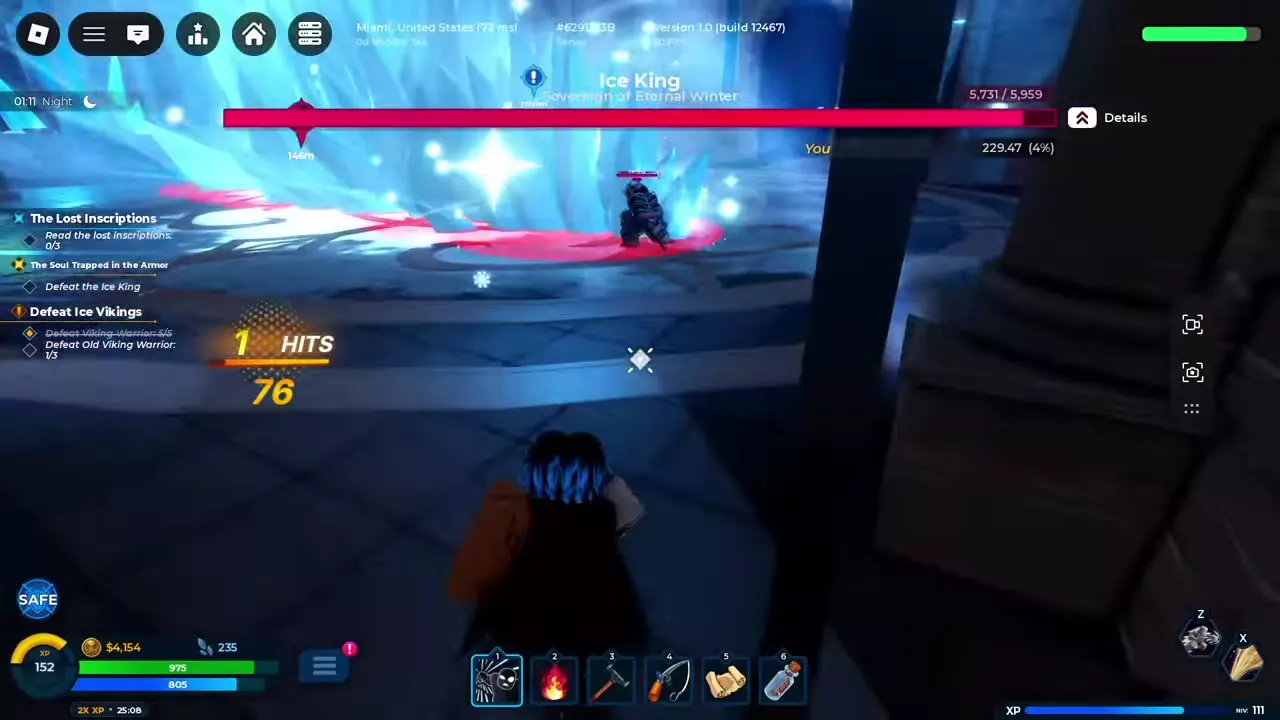
- Defeat 6 Royal Guard Armor to advance to Ice King.
- Approach Ice King and defeat him.
- Follow Take the Yeti's Lair Key to the golden key on the floor in front of the throne. Press E at its interaction to collect it.
- Return when the objective changes to Tell the Lighthouse Man. Continue his dialogue, including “Your brother?”, to advance toward The End of the Deal.
Survive the ice attacks
- Move sideways or dash beyond red lanes, circles, fans and broad ground warnings before the ice lands.
- Remain outside wide marked areas while repeated falling ice resolves. Return to attack during the gaps.
- Check your new position after dodging: another warning can form beneath you while the previous attack is still resolving.
- Withdraw from close-range sword pressure and fresh warnings instead of extending a combo through them.
Ice attacks can trap your character in an ice block and deal damage before movement resumes. Keep dodging until Ice King is defeated; a nearly empty boss health bar does not complete the objective. Victory unlocks Sovereign of Ice, and collecting the key advances the report objective.
Obtain the Yeti Bell
After reporting the Ice King battle, continue Lighthouse Man's conversation for The End of the Deal, then follow the route back toward the castle. Climb the snowy stairs past the statues holding blue orbs and enter the hall.
Fight Ice Golem between its melee attacks. When red rectangular or circular warnings appear, retreat beyond them. Let the glowing-arm swing and frost effects resolve before approaching again.
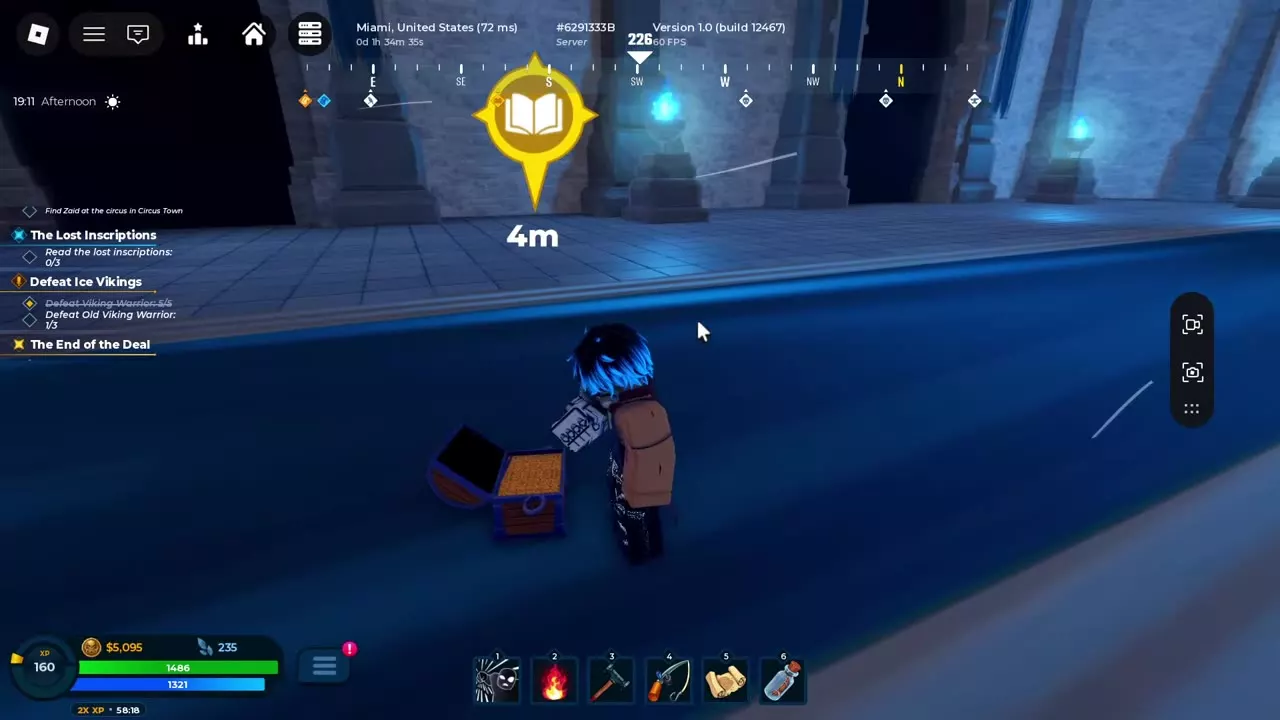
Victory awards the Royal Chest Key and updates Frost Island 5. Next, follow the yellow book marker to the chest in the hall's central passage and interact beside it. Opening that chest awards the Yeti Bell. The Bell comes from this chest interaction after the battle, rather than directly from Ice Golem.
The Impossible Ice
Speak to Halvard, the Ice Merchant beside the Frost Island dock building. Choose “What job?”, then “I'll take it.” to accept The Impossible Ice.
Open Character → Inventory to find the Frost Ice Block, a Rare quest item. Recognize it by the blue glacial ice wrapped in straw.
Collect Yeti Blood and Say Goodbye
Defeat Yeti and collect the sample
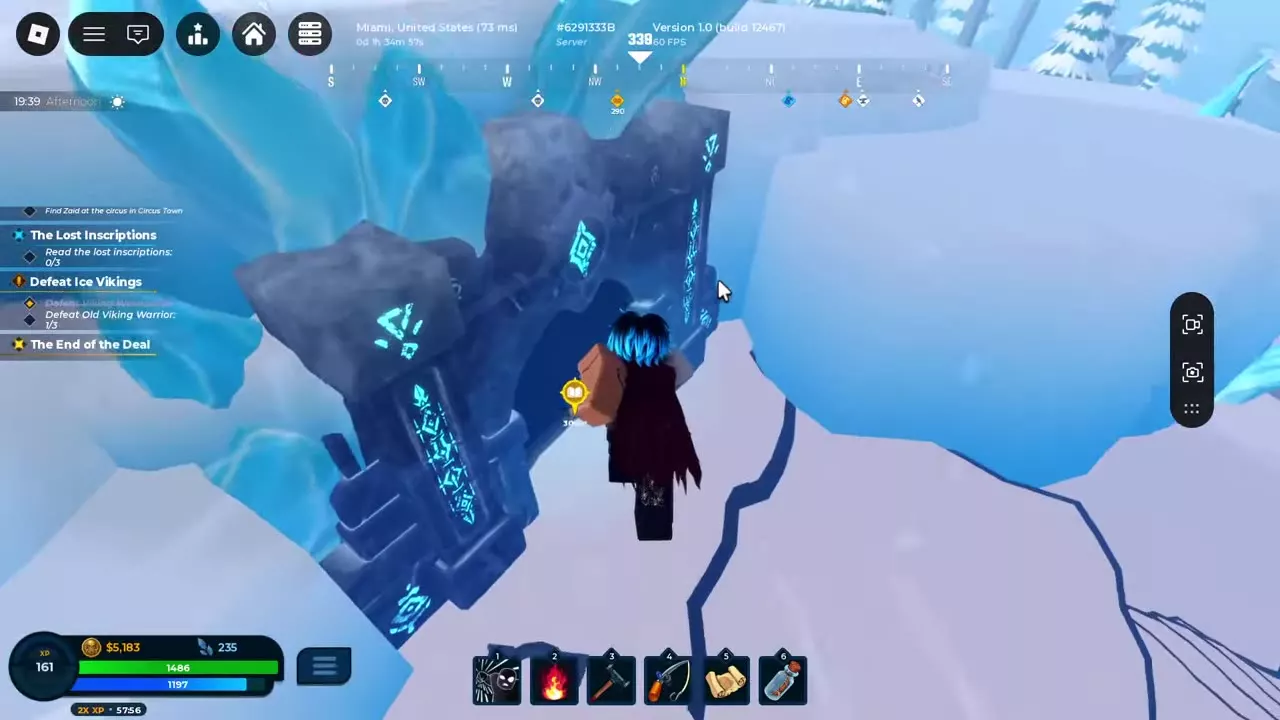
With the Yeti Bell obtained, follow the snowy route to the cave entrance framed by glowing blue runes and ice crystals. Enter Yeti Cave and approach the large creature at the quest marker to start the encounter.
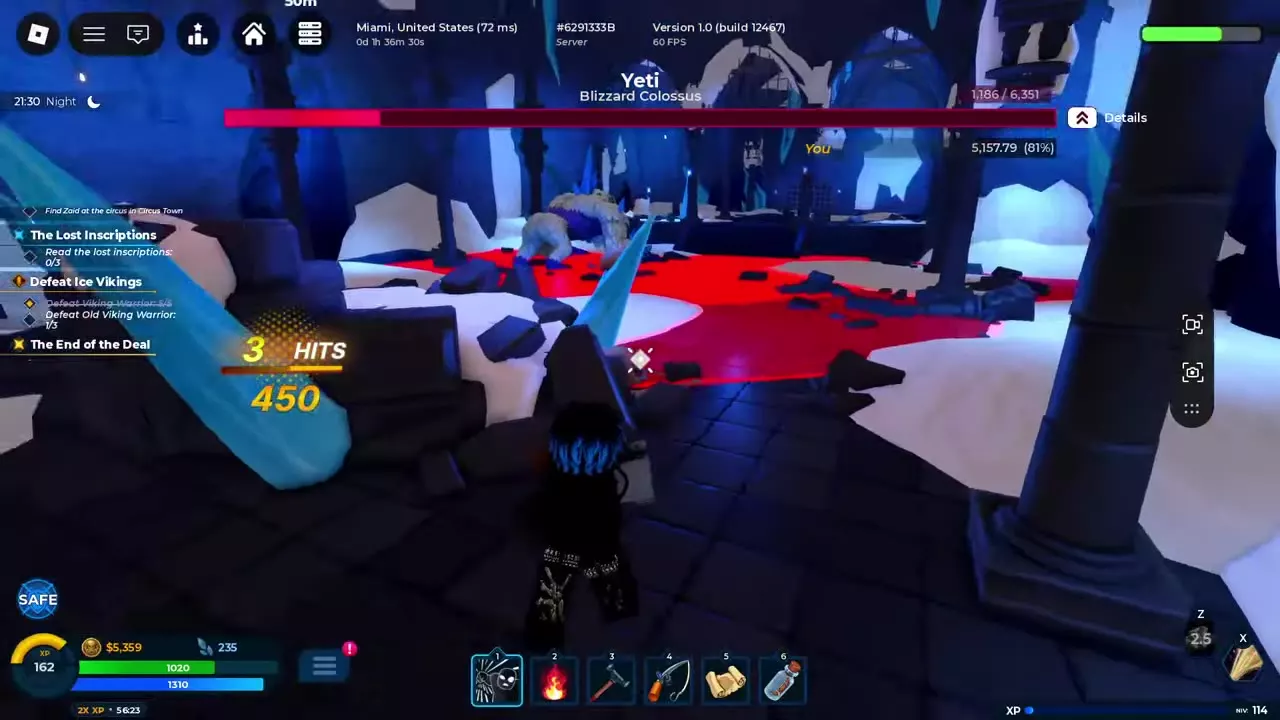
Retreat when broad red warnings spread in front of or around Yeti. Stay clear until the blue-white icy burst and red ground coverage finish, then approach and attack again. Give the marked area room; standing near its edge during the burst still exposes you to damage.
Defeating Blizzard Colossus Yeti unlocks Winter's Scourge. Collecting the blood is a separate step:
- With Collect the Yeti Blood active, approach Yeti's body inside the cave.
- Press E / Talk.
- Choose “Collect a blood sample.”
The objective changes to Say goodbye to the Lighthouse Man. This is the Yeti Blood sample requested by Suspicious Man.
Finish the farewells
- Return to Lighthouse Man inside the lighthouse and complete the goodbye conversation. The next objective becomes Say goodbye to the residents: 0/3.
- Talk to Elder Resident beside the house doorway. Choose “It was me.”, then “See you someday.”
- Talk to Young Resident beside the tree and campfire. Choose “It was me.” and finish the conversation.
- Talk to Island Resident outside the house and continue until the three-resident objective completes.
- Depart Frost Island when the objective becomes Return to Harbor Island.
The Hotel Letter and Bastille
Back on Harbor Island, open the letter on the hotel's lit table and choose Continue to advance to Night at Bastille. Follow the Harbor and Wandering Bastille story guide for the fishing-rod objective and Yeti Blood sample delivery.